Our kitchen (and home, overall) is one giant work-in-progress, with a whole set of projects waiting for us to jump into. Enter: our DIY kitchen countertop transformation.
I have a big vision in my head of what I want: new (white) cabinets, new granite counter tops, a new sink, gorgeous backsplash, an updated fridge, hardwood floors, and a gorgeous runner rug. Until we can afford to do a total re-haul, we’re making the best of our space by making small cosmetic changes, rather than total replacements (hopefully some day!).
First up: the countertops.
When we moved in, my first (self-designated) task was covering the bland off-beige vinyl with a marble contact paper. I honestly didn’t do a very precise job, but it was a nice temporary fix. It wasn’t fooling anyone, but they weren’t grossing anyone out, either. (And by anyone, I mean me. It’s a pandemic, y’all. Lol.)
Chad and I recently decided that it was time to take the next step in a more permanent (but still temporary) direction. Painting our countertops!
I found a DIY painting kit on Amazon for $78, which is a heck of a lot cheaper than a total replacement. I went for a white granite option, which is similar to the marbled vibe that I love. So, we dedicated a weekend to this DIY project and got to work.
The Prep

Chad was a champion and did all of the prep-work for the project, which involved clearing everything off, applying tape, washing the counters, and applying a coat of black primer to every inch of the surface. He made quick work of it, and amazed me with how quickly he was able to prime the space.
The Work

After applying the primer, the paint kit works by applying two three different coats of paint with a sponge, each on top of another without any delay. Coat one is a grey, coat two is a white, and coat three is a bright white. It’s recommended that they’re applied right on top of each other because they don’t blend well when the coats are dry.
So, the best solution is to do small sections, coat one, two, and three, immediately after each other. Then move on to the next section, and repeat. Over and over.

That’s what we did, though I initially messed up. The first coat, a grey color, came out black at first. This is because I didn’t properly shake up the can of paint before I started, and the colors separated. It wasn’t until the next day that I realized this, so I was applying light black over dark black, and over-compensating by using entirely too much white. My bad.
The hardest part was sponging. Over and over, small, delicate sponge strokes everywhere, covering a lot of space. It was hard on my hands and wrists and it took forever to get through everything. They also had to be consistent; Chad tried to help and his blotches looked nothing like mine, so I had to go back and fix and try to blend it, and decided this part had to be a solo endeavor. I ended up splitting the bulk of the project into two days because it was so exhausting.

After the many, many coats were applied everywhere, Chad came in and finished with a clear coat of the provided finish. This added an almost blue-like, glittery sheen that took several hours to dry and several weeks to totally cure.
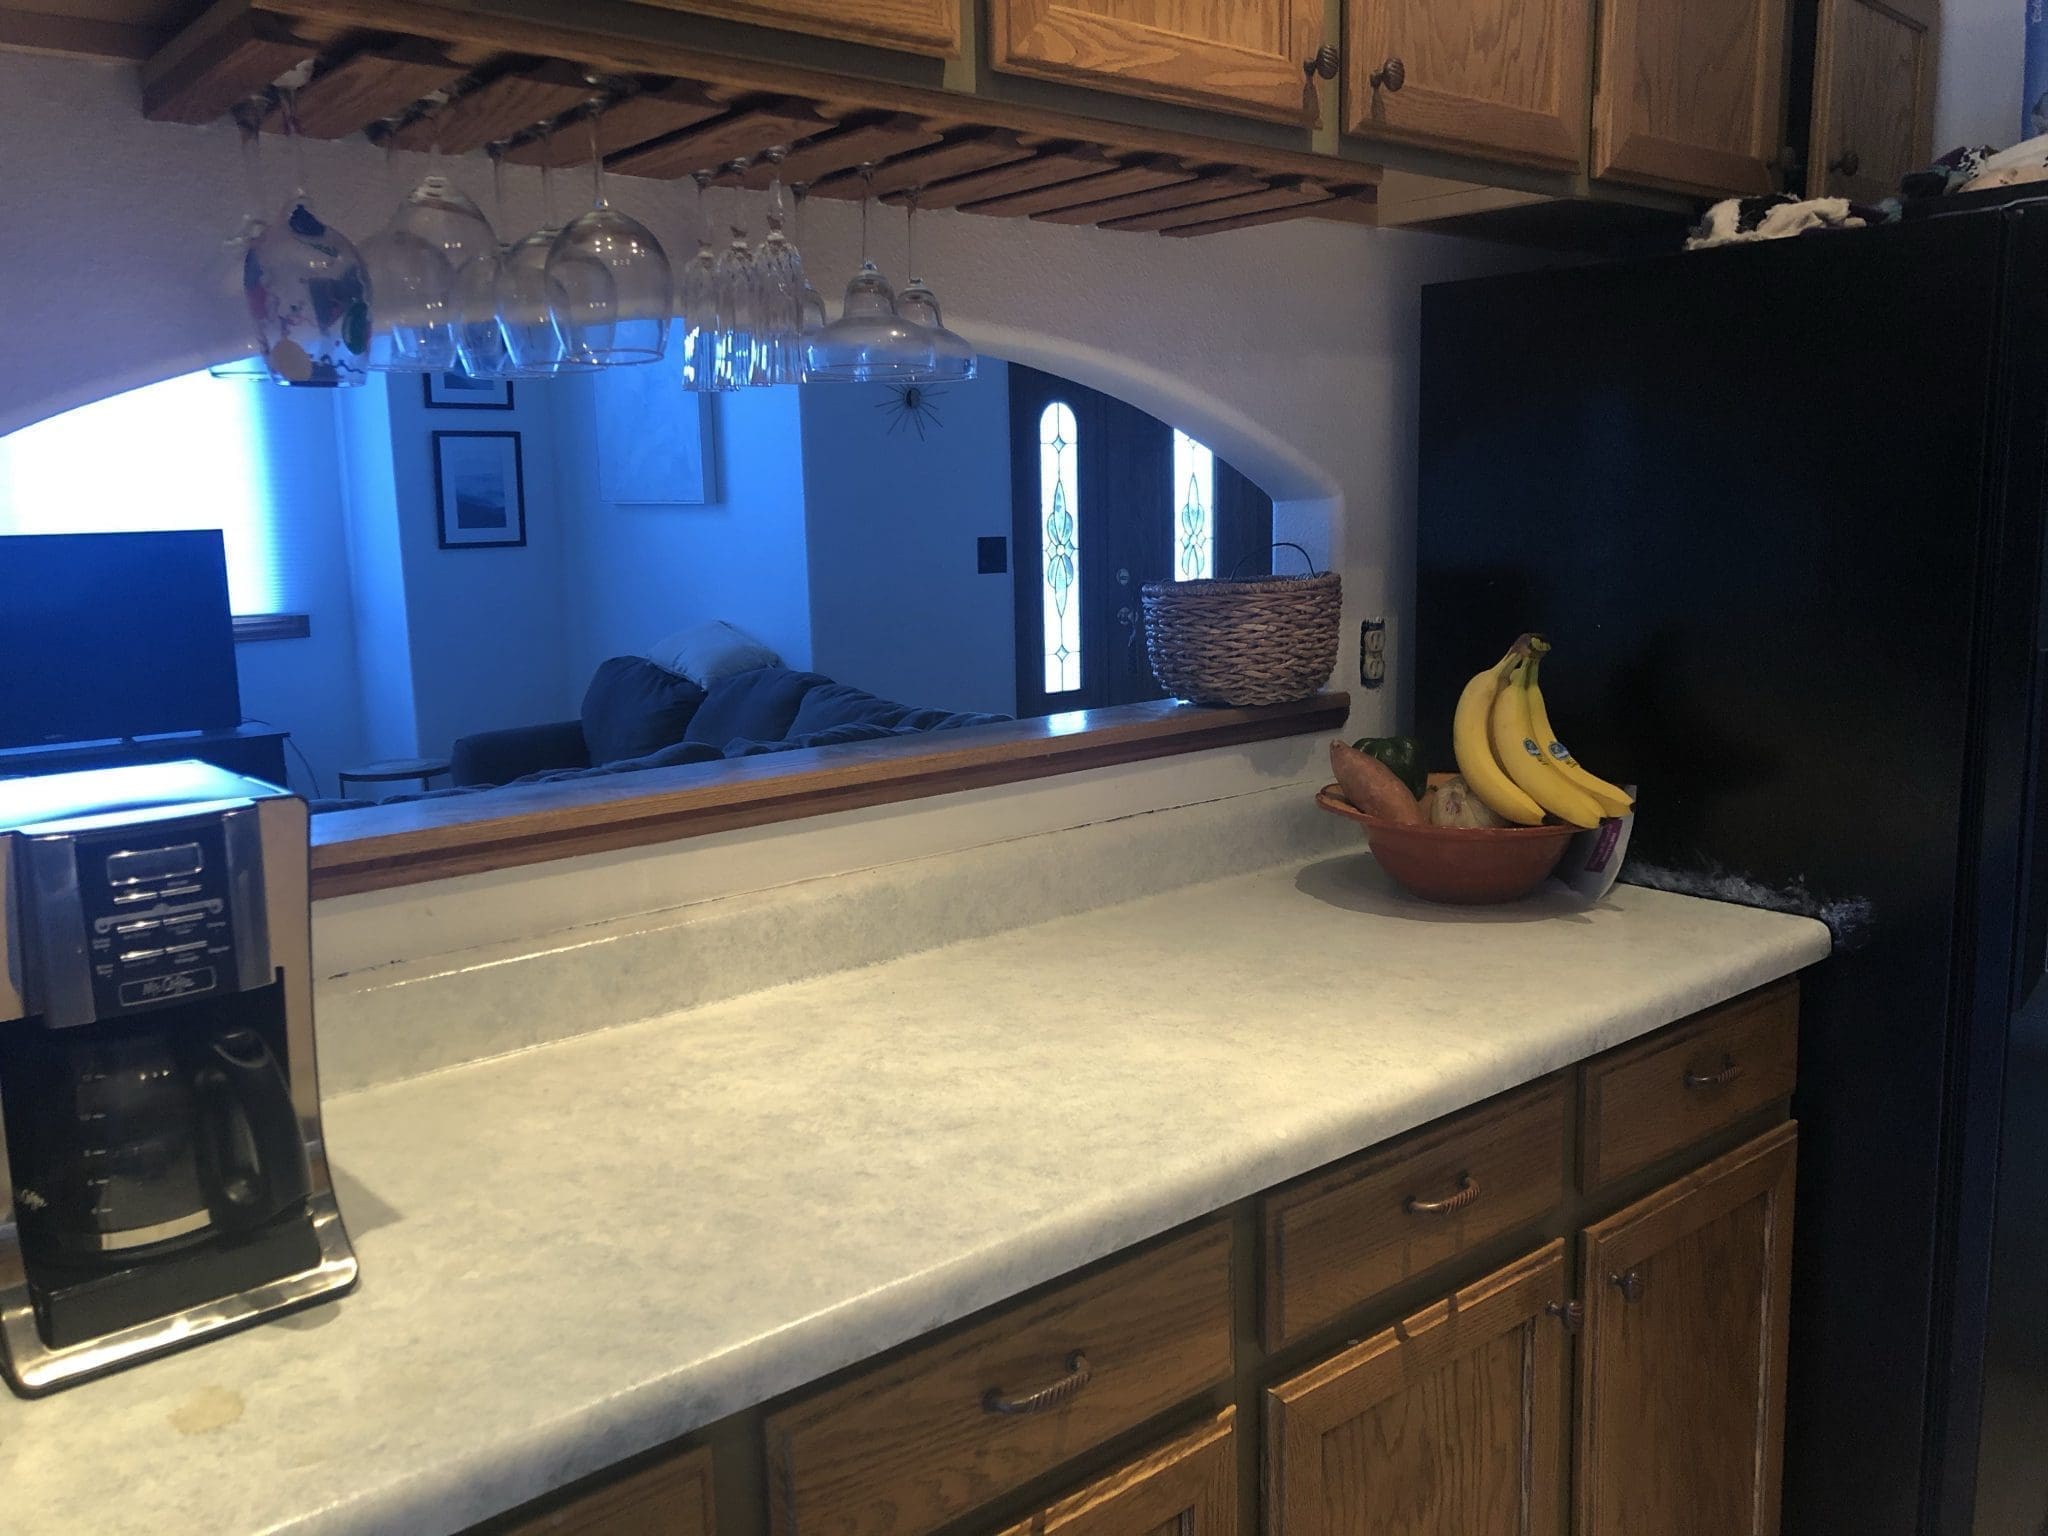
The Result
Overall, I’m not mad at it. I don’t think it looks totally amazing—in several spots we were lazy and got some paint on the backsplash and our fridge, oops—but I do think it looks better than the original. We didn’t get much of a marbled look (there are no veins here! We absolutely did not have the creative means to try that!), but it does have a granite feel.

If I’m being totally honest, this wasn’t a super fun project. It was a bit of a strenuous task, complete with a few harsh words between Chad and I, a few raised voices at Wally for over-sniffing the paint, and some low-key joint fatigue. I’m glad it’s over.
But hey, as for how things turned out? It’s not bad. Our DIY kitchen countertop transformation was a semi-success.
Sooner than later, we hope to tackle either our cabinets or backsplash. New kitchen, we’re coming for you!

Established in 2018, Sunshine with Savannah is a catch-all blog with an emphasis on weekend travel, millennial-style marriage and fun, reflection-based musings, outdoor adventure, home design, and all things lifestyle.
Though the content is diverse and varied, the heart of this space stays true to a single, guiding principle: a simple pursuit to find sunshine, wherever I go.
I love the Design and finish, something worth being proud of to update and make a lot more modern. I love the colours as well and to be fair it looks a fantastic kitchen 😁
Thank you so much! 🙂
You have done such an amazing job. It looks great
Thank you so much!
Looks like a great redesign. Thank you for sharing your DIY.
Lauren
Thank you, Lauren! 🙂
for more details check out our article- https://imperialvanities.wordpress.com/2021/06/07/colorful-quartz-countertops-for-a-happy-and-welcoming-kitchen/